Growing Potatoes in a Root Pouch
Whether you’re just getting started or you’re an expert home grower, Hoss Tools shows us how to get potatoes growing right!

Let’s Get Started.
To plant potatoes, fill your container with 4 to 6 inches of prepared soil and place it in full sun. Your seed potatoes need a good bit of room to grow so be sure and get the correct plant spacing. For example, a 15 Gallon Root Pouch can comfortably grow 4 potato plants and give the root structure plenty of room for a big harvest. We don’t recommend going smaller than 15 Gallon. The 45 Gallon can grow 12, and the 100 Gallon could grow 20-24 potato plants.

Layers Upon Layers.
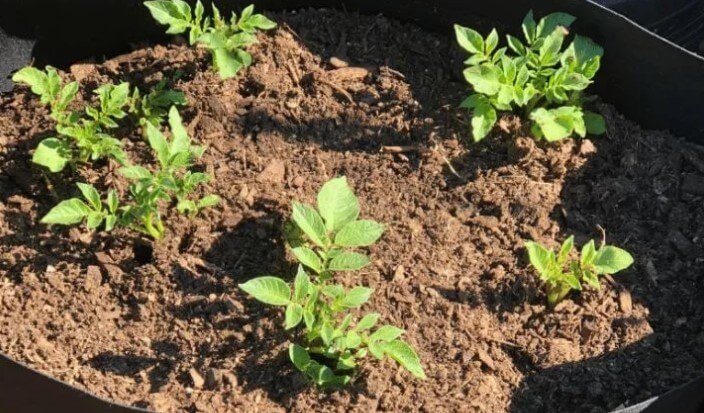
The same way that in-ground and raised bed planting requires hilling, container planted potatoes require the same treatment, called layering. To start, put in at least 6 inches of soil and ideally 10 inches into the bottom of the bag. Seed potatoes should be planted 6 to 12 inches apart and 3 to 6 inches deep. Press your potatoes into the earth as you plant them. Lightly cover your potatoes with 1 to 2 inches of soil. As the plant grows, continually add 1 to 2 inches of soil to the top of the plant to cover the new stems until the container is full of soil.
Reaping What We Sowed.
Potatoes can be harvested at different times throughout the growing season based on what you want. Scratching is a term used in gardening, meaning digging up a few of your potatoes before the ten-week maturity date. New potatoes refer to a fresh crop of potatoes that have just recently come out of the ground. You can harvest new potatoes but allow the rest of the plant to keep maturing. Simply dig the potatoes you want, being very careful not to damage the ones still in the ground, bury the plant again, and water thoroughly. When at least 50% of the tops of the potato vines begin to die off and any flowers have begun to drop off, it’s a good indication that your potatoes are ready to harvest.

We’re Not Done Yet!
Much like onions, potatoes need to be cured after being harvested. This helps the skin thicken, any slight damage heal, and prevents bacteria from rotting the potato. Arrange your potatoes in a single layer in a well-ventilated area that is out of direct sunlight for a week to 10 days. Potatoes ideally should be stored around 55ºF and will last in storage for months on end. Warm temperatures will bring the potatoes out of dormancy and cause them to start sprouting. Sunlight will turn the potatoes green and should immediately be discarded. The green color comes from an excess of solamine and can cause severe sickness if eaten.
For more on picking soil, fertilizer, etc., read the original Blog post here.
Ready to start growing? Visit Hoss Tools below!